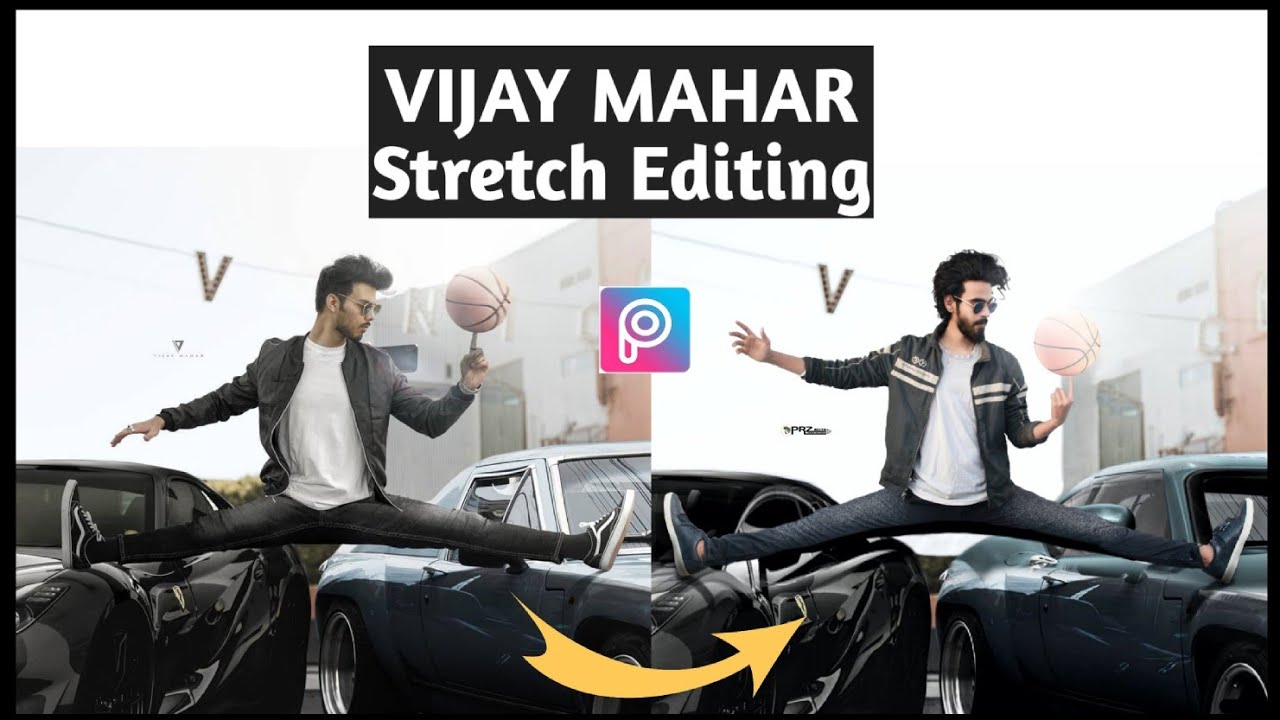
Stretch Edititing
Stretch Concept From a Bollywood Movie this is just for fun and the demands of my Instagram followers. This concept is looking very simple and easy to edit but the truth is not like this. I did many efforts to pose like I am stretching my legs on booth cars.
If you have not followed me from the start so you do not know that when I edit or create concepts is just only for learning purposes and make everyone can edit easily.
How To Edit
There are 10 steps for this editing.
- In this Vijay Mahar editing, you have to take 3 pictures with 3 different possess.
- Open all images one by one for background removal in Picsart.
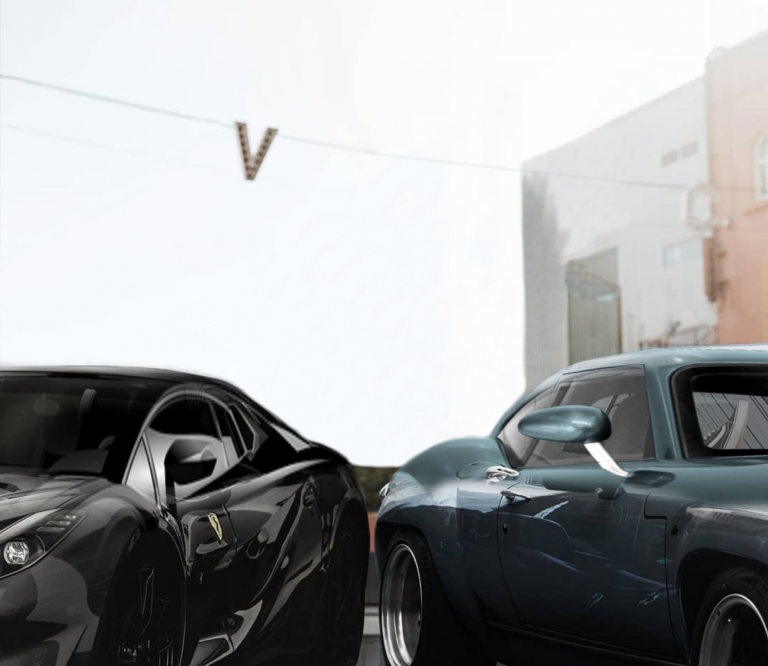
- Now open the background of this editing in Picsart.
- Select Add photo and booth images one by one in the background then arrange according to picture type. This step is very important if you face any problem so you can watch a video of this editing.
- Select the stretch option in Tools and use power 20% & size 33% of this for managing your lags position. This step depends on your editing finishing so did this as well as possible.
- Go in Draw tools then add the background photo layer and drag this to the 2nd layer. Select 1st layer then tabs to eraser and use the opacity of it 100% and size will be according to the situation. Erase damaged areas because of stretch. Now again add the empty layer and drag this to the 2nd number. Tab to then picture the color of your pant now select blur brush use size 55% & opacity 100% and draw a line downside of your pant. Again add an empty layer then select dot particle brush and use the color white for this size of the brush is 128px & opacity 30% then apply as alighting on your pant. Add one more empty layer tab to the blur brush for creating a shadow of your lags size of the brush is 25% & opacity 29%. After making a shadow you can change the opacity of this layer by 57%. Watch the video if you do not understand.
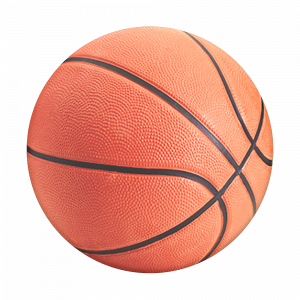
- Select Add photo then add basketball PNG after set adds sunlight PNG then blend sunlight blend normally to screen and also change the color adjust of this Saturation -34, Highlights +8, Brightness +15, Contrast +10 & Clarity 11% done. Set this PNG upside of the ball.
- Now go in Fx and select Motion Blur effect use fade 64% & distance 34% then tab to eraser and clear all and apply this effect only in basketball.
- For color adjustment Select adjust in Tools option and use Contrast +16, Clarity 24%, Saturation -8, Temp -7, Shadows +8 & Highlights +9
- You can add a logo now.
Important Note
Stock Is Not For Commercial Use
Download
Use Download Button For High Quality
Download In HD Quality
APPLICATIONS I USE
I used this apps for editing. If you want to edit in mobile so make sure you downloaded all apps too.